Cyber Smoke Vapor FX Photoshop Action
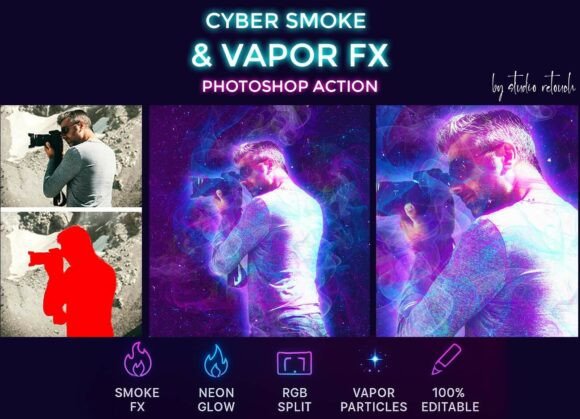
Creating a neon-drenched, futuristic aesthetic used to require hours of manual layering, blending, and color grading. With the Cyber Smoke Vapor FX Photoshop Action, that process shifts from tedious experimentation to a repeatable, reliable workflow. This action generates a full cyberpunk vapor look in moments, layering glowing neon edges, RGB split effects, drifting smoke clouds, and digital particles onto any image. Whether you are assembling a poster for a client, building album art for a band, or experimenting with a personal portrait project, this tool offers a practical shortcut to a highly stylized look.
What the action actually delivers
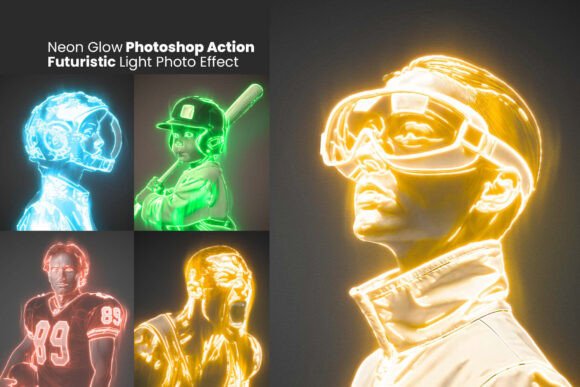
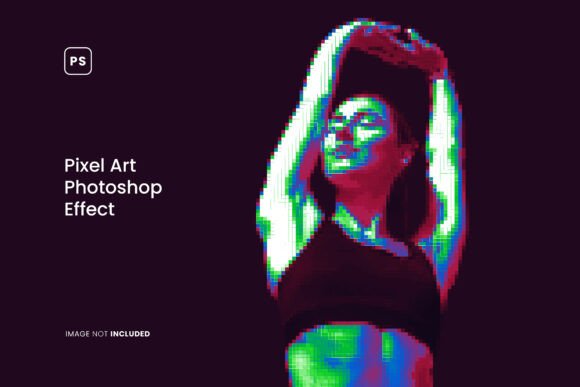
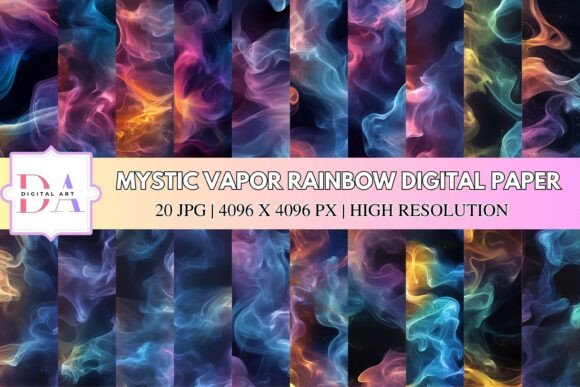
At its core, this action automates a series of Photoshop steps that would otherwise require manual adjustment of channels, layer masks, and filter effects. It applies neon edge glow around your subject, introduces color channel shifting for that signature RGB glitch feel, and adds atmospheric smoke clouds and particle scatter. The result is a layered, immersive look that reads as futuristic without feeling generic. Importantly, the action does not lock you into a single outcome. Layers remain organized and editable, so you can tweak opacity, mask out areas, or swap color tones after the action finishes.
The action is tested on Photoshop CC2022 English version and supports a broad range of earlier versions from CS6 through CC2021. This means users on older software are not locked out. The file package includes an ATN action file, brush files, a PDF help file, and a video guide link embedded inside the help file. For anyone who has ever downloaded a Photoshop action only to find it broken or incompatible, this level of version coverage and support documentation is a practical relief.
Why different users approach this action differently
A student learning digital art for the first time has very different priorities than a freelance designer delivering client work by end of day. The same action can serve both, but the way each person evaluates it will vary. Beginners tend to care most about whether the action works out of the box without requiring deep Photoshop knowledge. Experienced users look at layer structure, editability, and whether the action produces a foundation they can build upon rather than a finished product they cannot modify. Creators and small business owners often weigh speed and consistency: can this action produce a reliable look across multiple images without manual rework? Educators may value whether the action can serve as a teaching tool for demonstrating layer effects, channel mixing, or brush dynamics.
Rather than promising that this action is perfect for everyone in the same way, it is more useful to examine how different priorities shape whether this tool fits your specific situation.
For beginners: No advanced skills required
If you have ever opened Photoshop and felt overwhelmed by panels, blending modes, and adjustment layers, this action is designed to reduce that friction. The setup instructions are straightforward. You open your image, resize it using the crop tool to 3000 px wide by 2000 px tall at 72 resolution, create a new layer named paint in lowercase, brush over your subject with a basic brush, and then press the play button on the action. That is the entire manual process. The action handles the rest.
For a beginner, the value here is not just the final look but the ability to produce something visually complex without needing to understand every underlying step. The organized layers mean you can later open the file and begin to explore how each effect was built. You can hide a layer, change a blend mode, or adjust opacity to see what changes. This turns the action into a learning aid as much as a production tool. If you are a blogger creating header images, a hobbyist building social media graphics, or someone just starting a creative side project, the low technical barrier makes this accessible.
One practical tip for beginners: the brush stroke on the paint layer does not need to be precise. Painting loosely over your subject is often enough because the action uses that selection as a guide for where to concentrate neon edges and atmospheric effects. You can always refine later by masking or adjusting individual layers.
For experienced designers and professionals: Flexibility and speed
Experienced users tend to evaluate Photoshop actions based on how much control they retain after the automation runs. A rigid action that flattens layers or applies destructive edits is often more trouble than it is worth. The Cyber Smoke Vapor FX action layers the effect nondestructively, keeping the original image intact and organizing the generated elements into clearly labeled groups. This allows you to go in and fine-tune the neon glow intensity, shift the RGB offset, remove smoke from certain areas, or replace the particle brushes with your own.
For a professional working on poster designs, gaming banners, or album covers, speed matters but not at the expense of quality. Running this action on a base image gives you a starting point that already has the structural complexity of a multi-hour manual build. From there, you can override colors to match brand guidelines, adjust the smoke density to suit the composition, or combine the effect with additional typography and textures. The action includes a brush file, which means the smoke and particle effects are generated using custom brushes rather than generic stock elements. This helps the final image feel cohesive rather than assembled from separate sources.
Freelancers and small business owners who produce visual content regularly will appreciate the consistency this action offers. If you need to deliver a series of social media graphics, promotional banners, or event posters with a unified futuristic style, running the same action across multiple images with the same settings produces a coherent visual identity. The alternative is manually recreating the effect each time, which introduces variation and consumes billable hours.
For content creators and marketers: Visual impact without production drag
Content creators working across YouTube thumbnails, Twitch banners, Instagram carousels, or podcast cover art often need high-impact visuals on tight schedules. The cyberpunk vapor aesthetic is popular in these spaces because it reads as energetic, modern, and slightly edgy. It signals a certain genre orientation that resonates with gaming, tech, and music audiences.
The Cyber Smoke Vapor FX action allows a creator to take a standard portrait or product shot and transform it into something visually arresting in under a minute after the initial setup. For a marketer promoting a futuristic product or event, this look can be applied consistently across a campaign. For a publisher creating book covers in the sci-fi or cyberpunk genre, this action provides a repeatable template that still allows for customization per title.
One consideration for this audience is resolution. The recommended resize setting of 3000 by 2000 pixels at 72 resolution produces a file suitable for web use, social media, and print at modest sizes. If you need larger output for billboards or high-resolution print work, you can scale the final result after running the action, though you may want to adjust particle sizes manually to maintain detail.
For educators and learners: A teaching tool inside a production tool
Educators teaching digital art or graphic design often look for resources that demonstrate real techniques without requiring students to follow along with tedious multi-step processes. This action can serve as a demonstration tool: run it on an image, then open the layer stack and walk through each component. Students can see how channel mixing creates RGB shift, how brush layers simulate smoke, and how layer styles produce neon glow.
For a student learning Photoshop independently, studying the action's output offers insight into professional workflows. You can duplicate the file, turn off groups one by one, and understand what each visual element contributes. You can also experiment by replacing the brush file with your own brushes or adjusting the color balance on the neon groups to see how small changes affect the overall mood. This kind of hands-on exploration builds intuition faster than following tutorials alone.
For hobbyists and personal projects: Low commitment, high reward
Not everyone using Photoshop is doing so for work. Hobbyists working on personal art, fan posters, or gifts for friends often want results without investing hours into learning effects they may only use once. The low learning curve and quick turnaround of this action make it ideal for one-off projects. You can take a casual portrait, apply the effect, and produce something that looks like it belongs on a festival poster or a limited edition print.
The action also encourages experimentation. Because the original image is preserved and all effects are layered separately, you can run the action multiple times with different brush strokes on the paint layer to see how the effect changes based on where you paint. Painting more of the background produces broader atmospheric effects, while focusing on the subject creates a tighter, more portrait-centric result. This kind of playful exploration is where a lot of creative satisfaction comes from for hobbyists.
Compatibility and practical setup
Before purchasing or downloading, it is worth confirming your Photoshop version. The action supports English versions from CS6 through CC2022, including CC, CC2014, CC2015, CC2015.5, CC2016, CC2017, CC2018, CC2019, CC2020, CC2021, and CC2022. If you are using a non-English version of Photoshop, you may need to switch the interface language to English for the action to run correctly, as actions often rely on named layers and adjustments that are language-specific.
The required image size of 3000 by 2000 pixels at 72 resolution is a practical middle ground. It provides enough detail for high-quality web display and moderate print output while keeping file sizes manageable. If your source image is larger or smaller, you will need to resize it before running the action. The crop tool method described in the instructions is straightforward, but you can also use Image Size if you prefer not to crop. Just ensure the dimensions match the required ratio to avoid unexpected scaling behavior.
The paint layer step is worth understanding. Creating a new layer, naming it paint in lowercase, and brushing over your subject tells the action where to focus the effect. If you skip this step or name the layer incorrectly, the action will not run properly. This is the only manual input required, and it gives you direct control over which areas of the image receive the heaviest treatment.
Is this action right for your project
Matching a tool to your actual needs is more useful than assuming every new resource is worth your time. If you are creating content that calls for a futuristic, neon-soaked atmosphere and you want to achieve it without building every element from scratch, this action offers a reliable shortcut. If you need a look that is entirely original and not derived from preset effects, a manual approach may serve you better, or you can use this action as a base layer and heavily modify the output.
For users whose primary concern is budget, this action replaces what would otherwise require purchasing multiple brush sets, gradient presets, and texture packs, not to mention the hours needed to assemble them into a cohesive effect. For users whose primary concern is quality, the organized layers and custom brush files provide a professional foundation. For users whose primary concern is learning value, the action delivers insight into how complex layered effects are structured in Photoshop.
The best tools are the ones that fit comfortably into your existing workflow without forcing you to change how you work. If the cyberpunk vapor look aligns with your visual goals and you value speed, editability, and consistency, this action is worth adding to your resource library.